Home » Resources » Designer’s Guide – Graphical Assets for Multiple DPIs. Why Android is not the iPhone.
For roughly 6 years, the iPhone has paved the way for a mobile world. With it’s high quality build, and use of skeuomorphism it came be quickly accepted due to the familiarity that other state of the art technologies could not always bring to the table. But it’s not only the users who’ve delved into a brave new world using this platform. Designers have had (and still have) a lot to learn from creating apps for a device which, for such a long time, has boasted a very limited number of screen sizes and aspect ratios. With a mere 3 resolutions – the standard 320x480px, Retina’s 640x960px and the new iPhone 5’s 640x1136px – the iPhone felt more like designing for interactive print.
But what if we needed our designs to work on over 4000 different devices?
Welcome to the wonderful world of Android, where stretching isn’t just good for you, it’s mandatory!
Here are a few steps you may want to follow when getting started with design for Android devices:
1. Read the Guidelines
No, really, RTFM. This may seem obvious at first but there are quite a few designers who want to start working on mobile without getting into the hows and whys of Android. This tends to cause quite a few problems like improper sizing and lack of rhythm down the road so do yourself a favor and at least skim through them over at the Android Design Guidelines. At the bare minimum go take a look at the video section, it may get you interested enough to go through the rest of the stuff as well.
It may seem daunting at first to understand some of it but over time it will all clear up, I promise.
Just to give you a head start however, let’s talk about DPI. You may have heard that Android supports multiple DPIs in order to deal with the wide range of devices it powers. It’s not the only operating system that does this however, the iPhone does the same thing. On older versions we had the standard DPI which meant a resolution of 320x480px and double DPI (Retina, as Apple calls it) where the same physical space was taken up by 2px instead of 1px hence the same screen size with double the resolution – 640x960px. The iPhone 5’s 640x1136px is basically a longer Redina DPI, it’s still the same double pixel density but the phone screen got longer (exactly 2 rows longer to be precise).
2. MDPI, HDPI, XHDPI and XXHDPI Resolution Densities
Now, Android does not have 2 DPIs alone, it has 4. Well, in truth it has 5 but the LDPI (low density) has been retired so you don’t need to worry about that anymore. Also, at the other end of the spectrum, the XXHDPI (double extra high density) is not being used just yet so you don’t really need to export most assets for it, unless you’re really interested in future proofing, which may not be a bad idea.
So let’s talk about the 3 densities that do interest us:
MDPI – medium density (the standard)
HDPI – high density (probably most prevalent)
XHDPI – extra high density (has mostly been used for tablets but recently it’s been introduced to sartphones as well)
XXHDPI – not yet used, will most likely replace XHDPI as the resolution for tablet devices
Ok, but how much bigger are we talking here? Well if you’ve read the guidelines, you should already know, but just in case, let’s clear it up by taking the 48dp high top bar you’ll find in any app:
MDPI – 1x (baseline) – 48px high
HDPI – 1.5x MDPI – 64px high
XHDPI – 2x MDPI – 96px high
XXHDPI – 3x MDPI – 144px high
If you’re still having trouble understanding, here’s an online android DPI calculator created by Martin Cohen. It’s missing the XXHDPI unfortunately. You could also try the Skinkers converter but it has the same problem, really.
3. Design Environment Setup
Ok, let’s get practical. Because we want to future proof our designs, we’ll need to work at a resolution high enough to support XXHDPI. Basically this depends on the phone you’re testing on – if your phone has a 16:9 aspect ratio (as mine does), you’ll want to work on files that are 1920x1080px in size, if you’re testing on a 16:10 aspect ratio, go with either 1920x1200px or 1728x1080px.
Remember that lines need to be at least 144px high and icons / input fields need to be at least 96px high in order to be tappable. The area that activates these icons and input fields needs to be 144px high in order to ensure ease of use. So just to make things clear, the icon needs to fit inside a 96x96px square but the tappable area (icon + padding) needs to be at least 144x144px in size for XXHDPI in order to scale to exactly 48dp for all densities.
4. Icons and Everything Else
You’ll find a lot of resources over at the Android Design Guide, like stencils and icons in various formats. I suggest downloading whatever you can use. There are a few things you need to keep in mind however: the icons in the AI (Adobe Illustrator) file are at exactly the right size for XXHDPI designs – 96x96px icons for 144px high lines, the stencil assets however are just right for MDPI design so if you want to work on your design at an XXHDPI size (as you should), you’ll just have to scale the assets up 3 times (48px becomes 144px).
You’ll also want to play with and download all the assets automatically generated by the Android Asset Studio. They’ll really help you understand how things work as well as get you started on the idea of 9-patching that we’re going to discuss in detail in a future article.
5. So… what now?
Well, you’ve read about the basics so go and put them to use. That app you want to work on, create a wireframe for it using strictly the assets found in the Designer Download while sticking to the exact dimensions found in the stencil files (again, remember to scale up 3 times if you’re using the AI file while working on a XXHDPI design). That should give you enough experience to make a good looking app that’s also easy to use.
Remember, if you run into trouble, post in the comments or send us an e-mail. We here at mReady would be glad to offer any other useful insights… and we’ll continue posting about Android design next Monday so be sure to subscribe to our Facebook page and stay up to date.
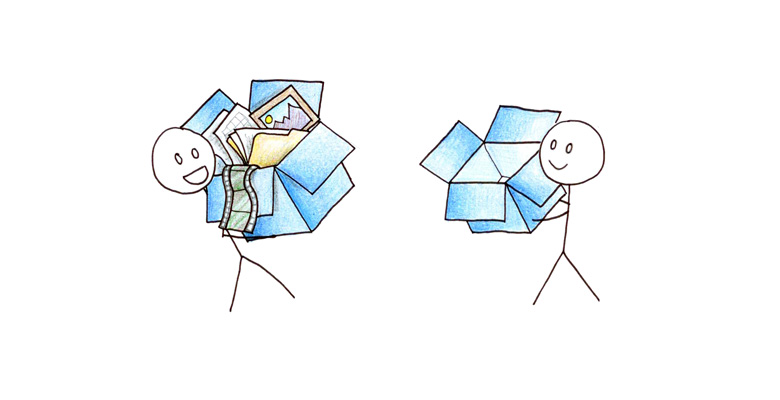
See you next week when we’ll be talking about 9-patches! And if you want to learn about using Dropbox as a design preview tool, check out last week’s article.
So many startups fail because they are working for months on a product without testing or getting any feedback from their users. They launch the product only to quickly realize their solution is not…
Just like in fairy tales, mReady started after one night’s dream: A mobile Ready Romania created by a team of Product, Design & Development experts and visionaries. The wild beginnings Passionate…